|
1. Making Windows and Doors
Windows
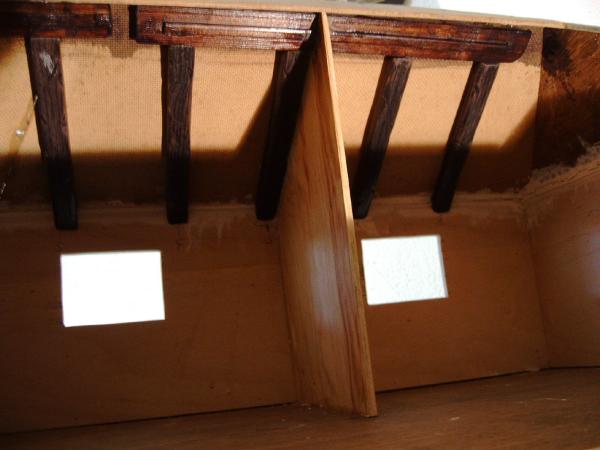
The old "glazing bars"
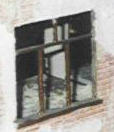 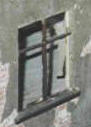
Click these pictures for a full view of the house's backside before the makeover |
I bought acrylic glass (thickness 2mm). Then I cut wood strips of wall thickness minus 2mm to fit into the openings as an inner window frame. Suprise, suprise: They fit neatly; and my acrylic glass sheets too.
|
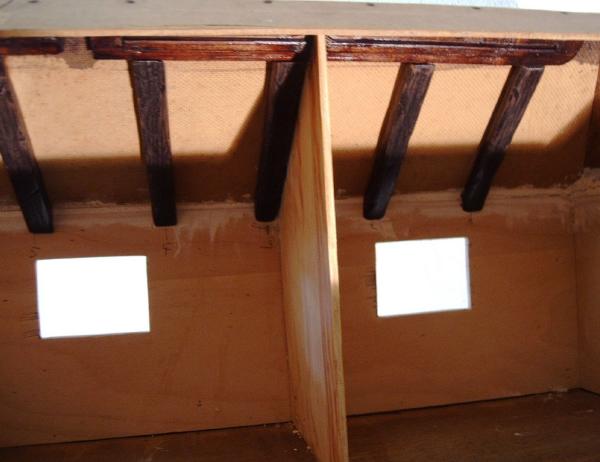
New Frames
Click here for a full view of the same backside when the new structure of this house was almost finished |
Next step: Cutting moldings for the architraves.
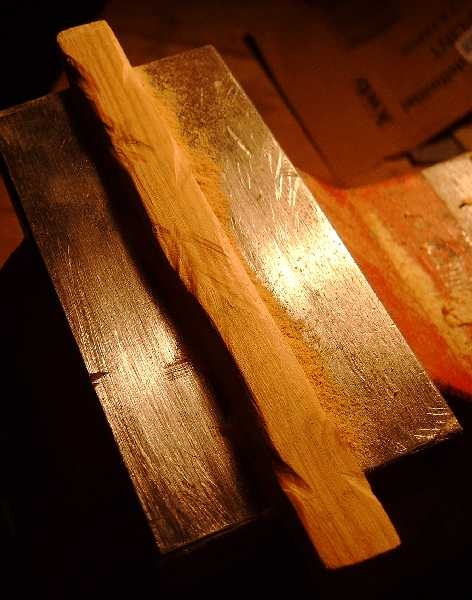
Woodstrips

For the remaining upper windows I made inner frames from 4 mm birch stripwood (wall thickness 6 mm minus 2 mm for the acrylic glass). The moldings for the architraves were made by gluing two strips of mahogany together (5 x 1 mm and 3 x 0,5 mm).
|
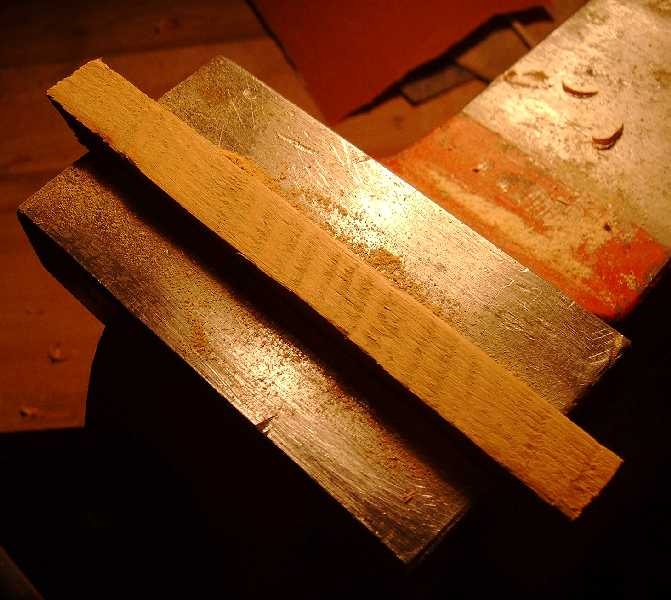
New cutting technique

So far, I had used a handsaw for the mitre cuts. Now a friend gave me his mitre cutter - and I love this! It is much cleaner, quicker and easier.
|
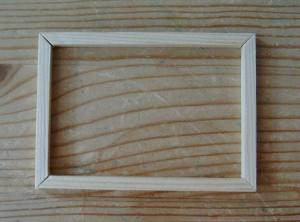
Inner Frame
|

First half of the architrave - slightly overlapping to cover the inner frame and to hold the acrylic glass in place.
|
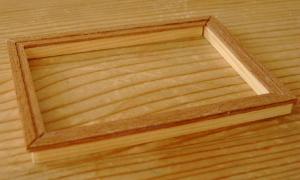
First window finished. I have to make 5, and the architraves for the doors.
|
Gluing them on has to wait until the outside of the house is finished.
Doors
 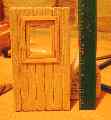 |
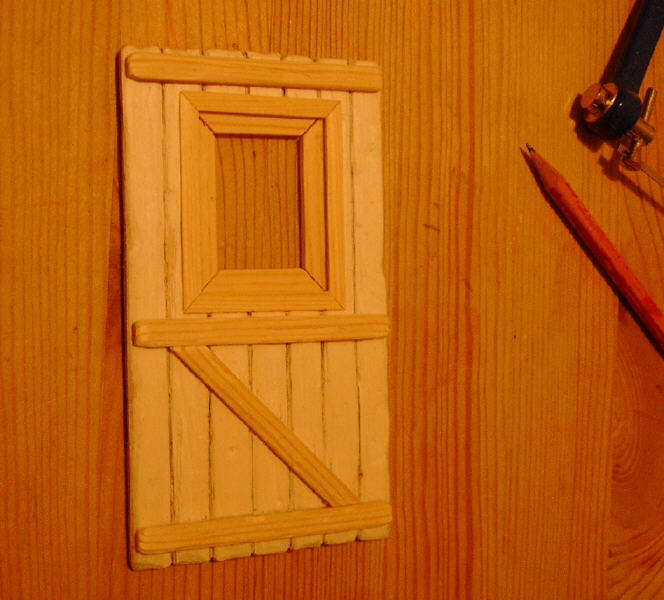
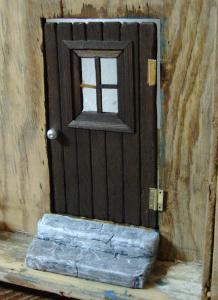
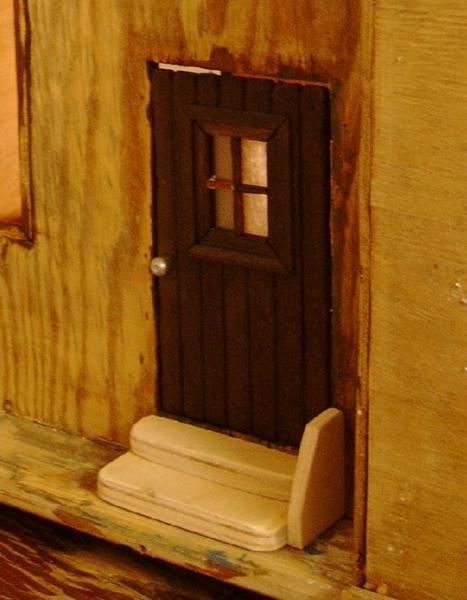
The first of two doors was made from plywood, in which I scratched lines to resemble boards. Rounded the edges and hit them with a screwdriver for some irregularity. Window made like those described above. With wood strips glued as a Z and cross bars for the window (not yet glued on when these pictures were taken) the door got the look I wanted. |
Click the pictures for a closer view
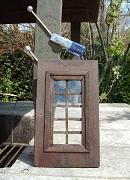 |
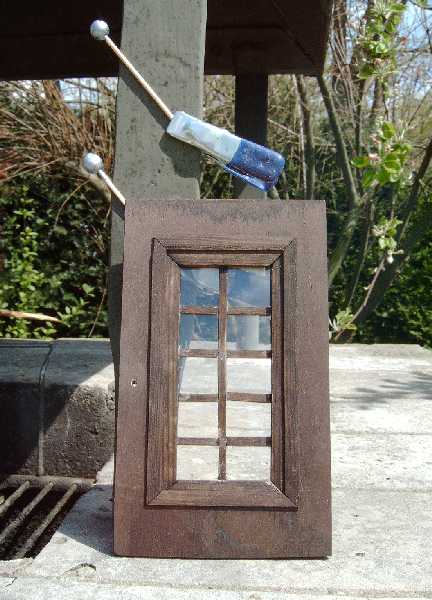
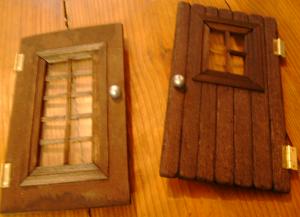
This is the second door, which will divide the balcony and living room. On this pictures it has already been stained, the stripwood and acrylic glass is already in place, too.
Click here, if you want to learn how to cut an rectangular opening into a piece of wood - the basic technique for making such a door. |
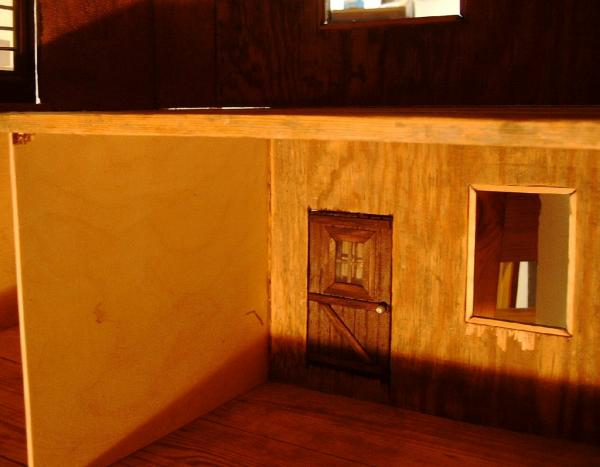
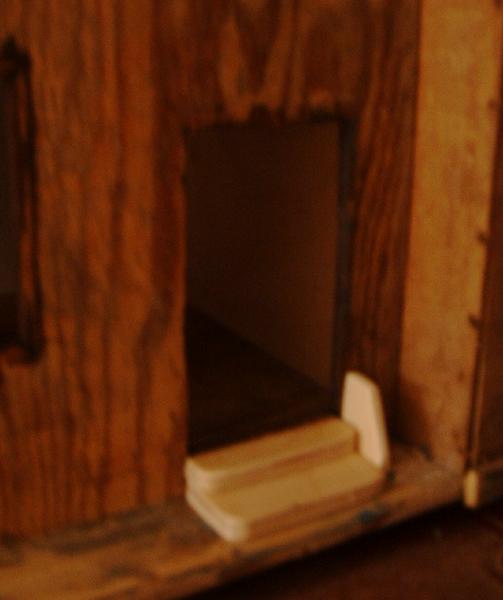
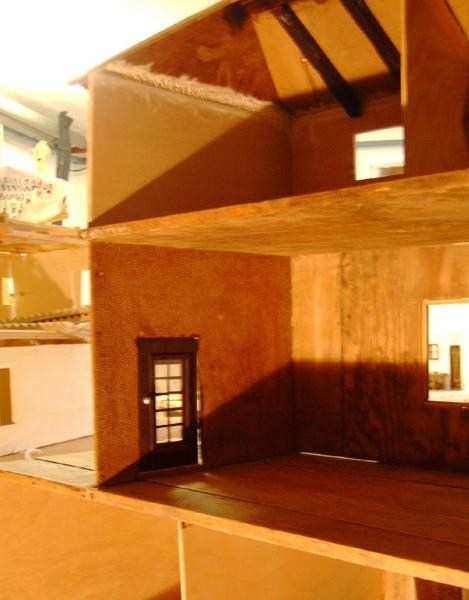
Kitchen door tried in place.
|
|

Terrace door.
|
Now we need butterfly hinges...
Hinges attached.
|
|
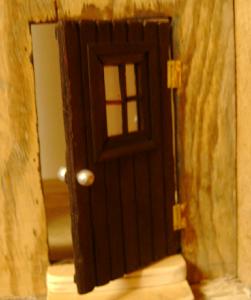
Works.
I'll take it off again, though,
and do the final attaching
at a later stage.
|

|
|