House No.2
The Makeover : Unexpected Challenges


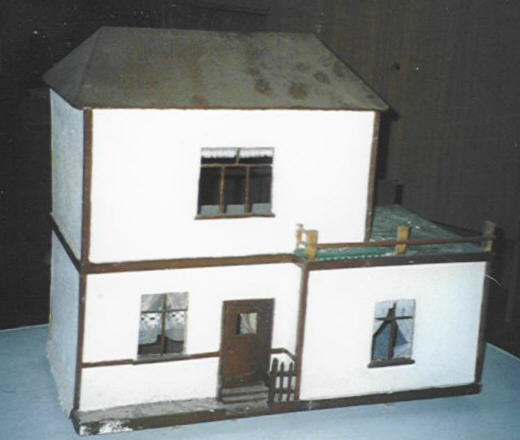
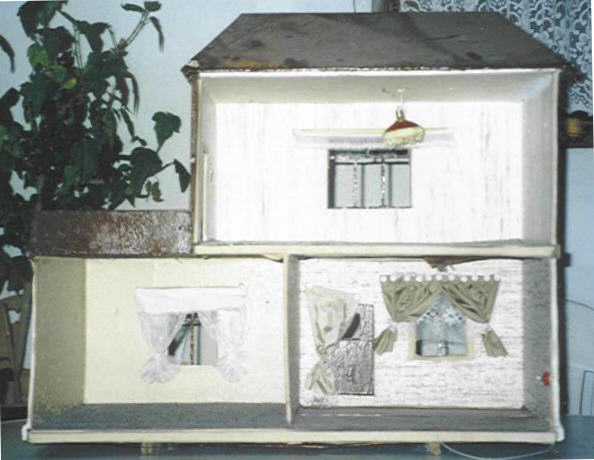
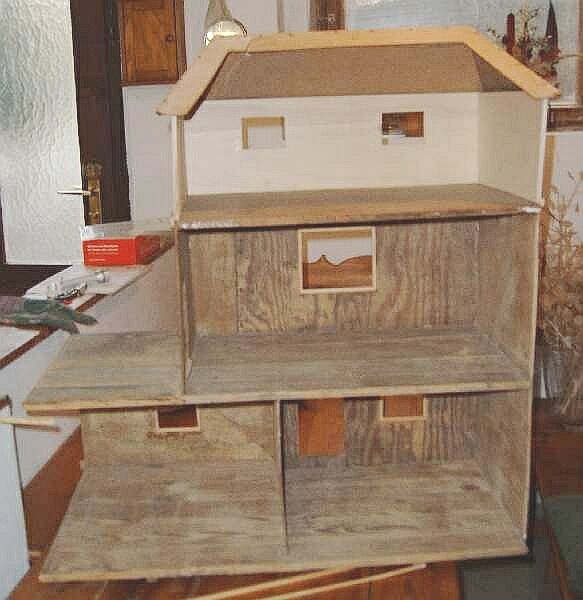
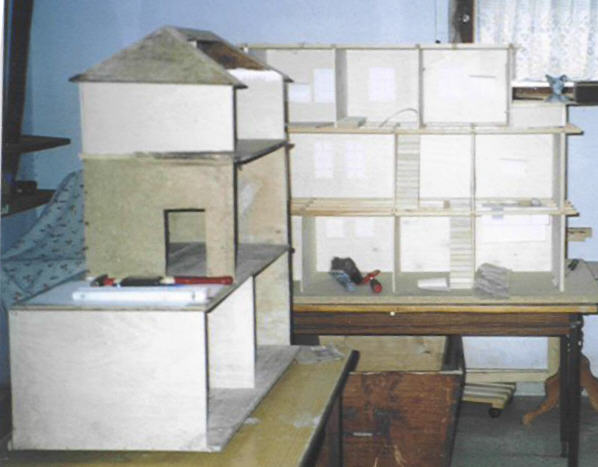
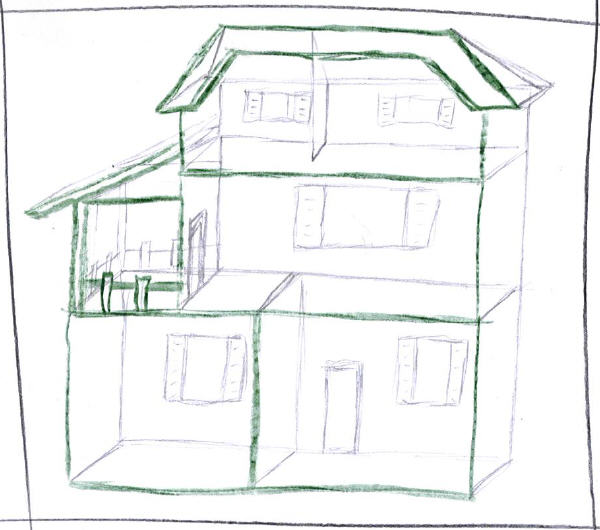
Latest Makeover Photo
~
March 2007
(Click to enlarge)


The Makeover Gallery
By reconditioning this house I try to compensate past crimes, once committed under conditions of being young and totally ignorant (which, at least for the first part, cannot justly be put forward anymore now). 
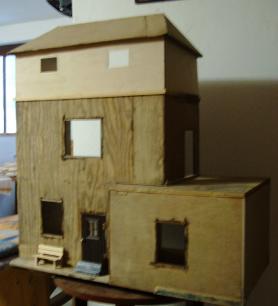
It was built by a friend's grandfather; and they gave it to me when I was a teenager, because they did not want it anymore (can you imagine...) 
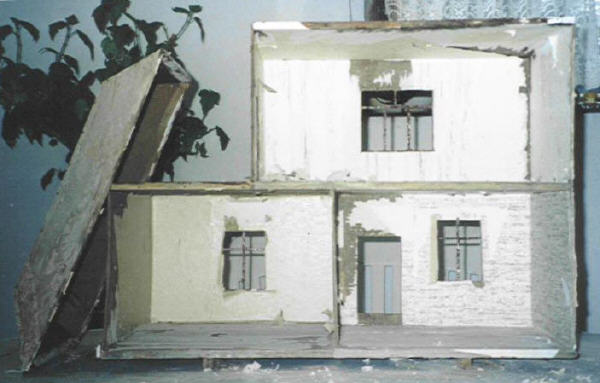
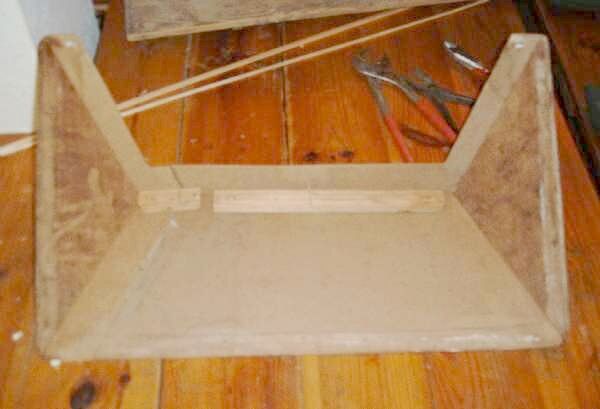
It was delapidated when I got it. And it was almost ruined after I had renovated it. (See picture below...)


So this is the second time that I tamper with it. Somehow, this time, the process got out of hand and I soon found myself confronted with problems that were either created by myself or that had plainly successfully been ignored by everybody else concerned with this house so far.

Watch my rocky path to their solutions (hopefully).


The house as I had left it years ago.


Click the images for larger pictures (if you dare...)

Knowing nothing about dollshouses or crafts at all, I then used quiet unsuited materials... which were also rather ugly, honestly! Look at this shiny dark brown paint everywhere. Uh!

This is how the rooms looked like when I started this second makeover in March 2005. Everything in there just had to go!


Suprises
Fighting layers and layers of paint, glue and paper I made several discoveries.


A
One dollshouse structure can be built from up to ten different materials, including MDF, massive wood, cardbord, plywood, and others - their thickness variing from wall to wall, of course.


B
The most fragile of them, which cannot be nailed or glued - because they crumble - might just be held in place by the wallpaper. Never strip it off.

~
C
In order to find out, how much stamina will be neccessary for the makeover, multiply the estimated amount with the number of years your dollshouse has seen.

~


Changes I made


Here I am halfway through the process of stripping the house to the bare wood. Later I straightened all edges and took off the windows' cross bars, because I want to build more realistic looking acrylic glass windows.
Then I sanded everything that was meant to survive this.
The roof was taken off and opened on one side, because I wanted an accessible attic.


Another Suprise

The problem was that the roof, which was obvioulsy produced with much care and knowledge with all these ankles coming from all sides, was made from scraps, which now threatened to come loose (see last picture of this section).

They were partly held in place by a very bulky strip of wood running along the inner side of the roof top. This thing would now be visible. I did not dare removing it, because I was afraid I would never be able to fit the parts together so neatly again. I thought it also impossible to build a new roof like this, or to cover the woodstrip. What could be done?

Finally, I decided to keep it, stain it, and add some vertical strips to resemble a visible roof construction.
(How this is being done is documented in the second section of this report, see below.)


Changes, continued:

Two walls on the ground floor were so fragile that they would have to go;
I later put in more sturdy plywood walls.


And once the roof was off, I saw how small this attic space would be. So I thought I might as well add some walls and thus enlarge it. Should be a piece of cake, shouldn't it!? Here you can see the new parts, easily identified by their much lighter color. (This house is OLD, and I guess the wood that was used was old even when the house was built!)


In order to get rid of that tower-like look, there will be a roof over the balcony that hopefully balances the whole thing.

A rough sketch:


Problems

The hardest part is when you look for a solution and you know there is one, but it is just beyond your reach...

I had problems figuring out how the new attic should be attached to the existing structure. I decided to preassemble the whole section, thereby trying to build it to the exact outer measurements of the walls below, and use the double method of glueing it on and nailing a slim strip of wood over the joint. Somewhere in my head lurks a suspicion that this might not be the most elegant method, but I do not know any better.

The same went for the roof itself, in which I had cut an opening at one side (as can be seen above). The roof was meant to sit on the new walls. How to attach it? I did not find a proper solution. Finally it was simly glued on; and I filled the gaps with some sort of spackle for wood. There was a lot of moisture in it, which might be the reason for my highly annoying Problem No.3.

One of my new walls warped! When I took out the house after pausing for more than a year, there were fissures in the spackle and the right wall of my attic section was out of plump, leaning to the right. ( Look at it) It does not wobble and cannot be bended back, it sits very tight the way it sits. Is there any way to get this exactly vertical again?
Answer this question


Now, that the basic structure is - inspite of some unsolved problems - basicly completed, we can turn to interior works and questions of design.


.

.