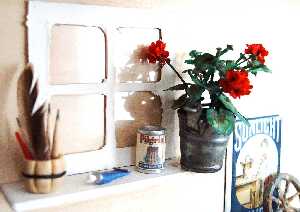
This is my first project which I could imagine others to wish to repeat.
That`s why I documented how I did it.


Stems and Leaves


If you want to do this, too, you might want to use
my model of leaves
.


Basis for the LEAVES was a scan from a drawing, which I reduced in size and multiplied. Then I printed them and gave them washes of dark and light green, in order to get slight variations in color. I also painted those dark circles onto them, which are so typical for some sorts of geraniums. After this, I cut out leaves of different sizes, rounded them with a ball tool while still wet and after drying took a needle and scratched veines into the surface.
The STEMS are from dried wine grapes, paited green and "planted" into a mix of finely grinded coffee and tee, which I baked twice in the oven. After letting dry the basic structure for several hours, I put on the leaves using a quickly drying glue.


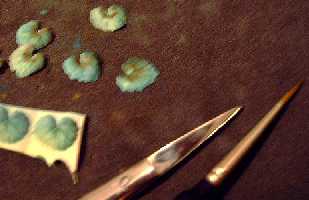
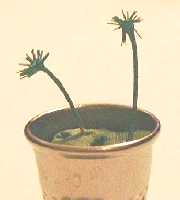
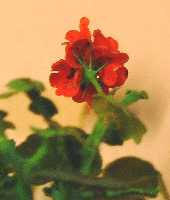
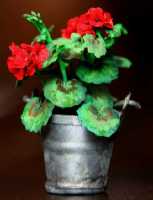
The Blossoms

Depending on the sort, Geranium blossoms consist of about 8 up to more than 20 small blossoms with ususally 6 tiny petals each. Each of the small blossom sits on a tiny pedical; a whole bunch of these pedicals sits on the end of the actual blossom stem.
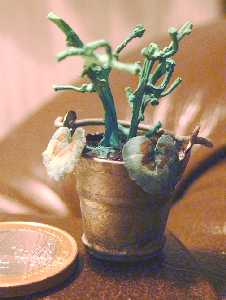
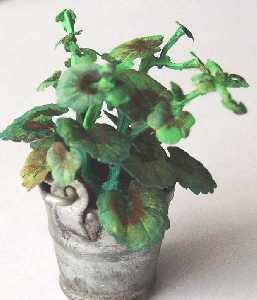
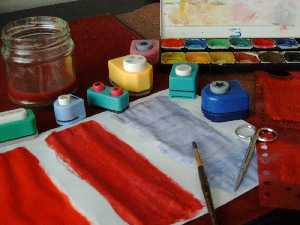
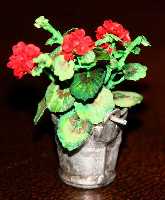
PEDICALS
I could not imagine how to make the basic structure for the blossoms, so I went into our garden and looked for some natural device which I could use. I found it in old umbels of dill. Dried, cut, painted, and again thoroughly dried they were stable enough to be used for my wee geraniums.


This is my experience with COLORS for the blossoms:
I had to try several, in order to find out which one looked natural. I had to try their interplay with the colors of the leaves. A mix of karmin red, a little white and quite a lot of blue worked best for me.
I used normal printing paper.
With one of those metal punches I punched out tiny hearts from my colored paper.


I found the making of the BLOSSOMS the hardest part of the whole project.
Unfortunately, this took up so much of my brain, that I forgot to make pictures of this process.

The tiny hearts were cut in the middle, but I left a small joint at the pointed end of the heart - now each heart formed two petals. Now they could be rounded with the ball tool. Next, I put a tiny drop of paper glue onto the head of a needle and pushed the pointed ends of three hearts into it. Here was my blossom. After the glue was dry it could quite easily be removed from the needle head.


Assembly
Between ten and twelfe such blossoms formed one of these "blossom balls". I glued them onto of the pedicals. Finally the whole ball had to be glued into the plant.

Different sorts of geraniums have different ways of growing. Some wear their blossoms right among their leaves, some have longer pedicals. Look at real size plants for inspiration.


If you ever tried to do this project, I would love to hear how you got along.


~